
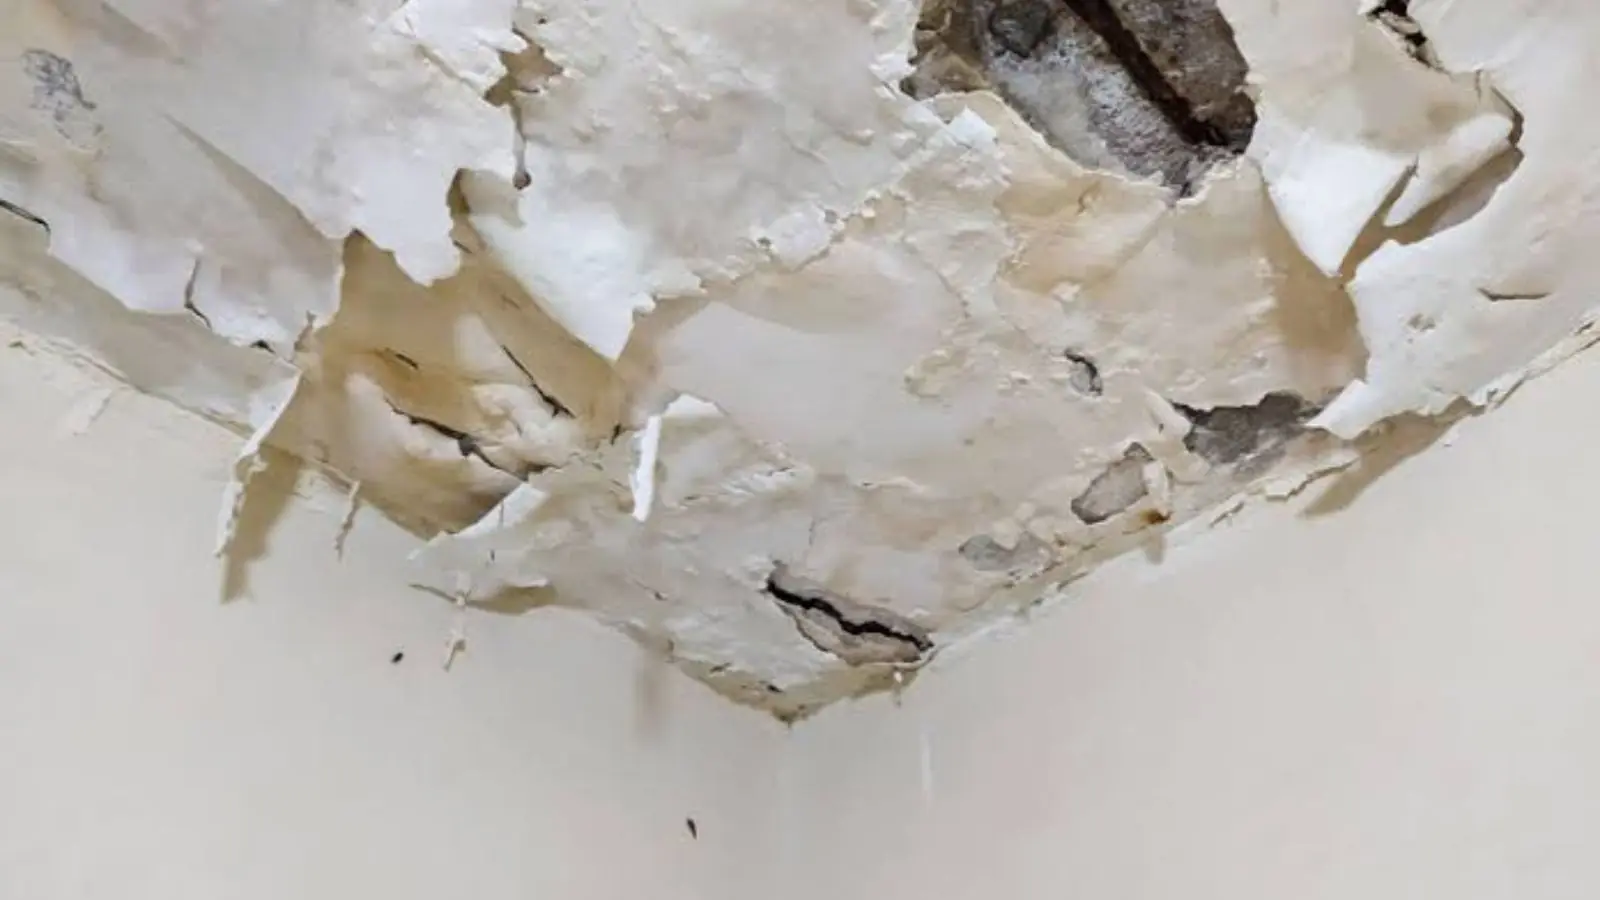
Start by proving the ceiling is dry
A repair built over damp drywall fails within a season. The stain bleeds back through new paint, the tape lifts, or a dark line shows up at the seam. So the first step is not cutting anything. It is measuring.
A tech runs a moisture meter across the ceiling in a grid and compares each reading to a ceiling in the same house that never got wet. A thermal imaging camera picks out cool, wet pockets the eye misses, like a damp strip running along one joist. If readings are still high, the job is drying first, which is covered under water mitigation, and the repair waits.
Any one of these means the ceiling is not ready yet:
- Meter readings that stay above your dry reference ceiling
- Paint that still bubbles or feels soft under a fingertip
- A musty smell that lingers when the bathroom fan is off
- Damp insulation visible from the attic hatch
Confirm the source is fixed too. A new supply line, a replaced toilet seal, or re-sealed roof flashing should be in place before any new drywall goes up, ideally with a few days of normal water use or a rain behind it.
Patch, section, or full sheet: how the scope gets decided
Most of the price and most of the visible quality come from this one decision. There are four common outcomes, and the right one depends on how the drywall feels, not only how the stain looks.
Spot patch
Fits a stain about the size of a dinner plate where the drywall is still hard and flat. The damaged circle is cut out, a backer goes in, and a patch is taped and mudded.
Section replacement
Used when drywall is soft, sagging, or stained across several feet. The cut follows the framing so new screws land in joists instead of air.
Full sheet replacement
When damage covers more than about half of a 4 by 12 sheet, one new sheet is cleaner than three patches. Fewer seams means fewer places for texture to look different.
Whole-ceiling finish
If any repair would show across the room, the tech skim coats or re-textures out to the nearest wall break. This matters most with flat paint and window light raking across the ceiling.
Ask the tech to pencil the cut lines on the ceiling before anything is cut. Seeing the outline makes it easy to agree on scope, and it keeps a spot patch from quietly turning into a section. The same scoping questions apply if you are in Sandy or South Jordan and have a bathroom over a finished ceiling below.
What happens to the insulation above the drywall
Picture a bathroom ceiling under an attic with blown-in insulation. Wet insulation packs down, stops slowing heat flow, and holds water against the drywall paper. The wet section is lifted out and bagged, not fluffed back into place.
The tech then looks at the joists and the back of the drywall around the opening. Wood that is stained but dry usually stays. Anything soft, or showing growth, becomes a mold question rather than a cosmetic one, and it is handled under mold remediation scope before new drywall closes it in.
Replacement insulation should match the type and depth already there, and the gaps around the cut get filled. A thin spot over the repaired area shows up later as a faint cold patch where dust collects, which looks a lot like the old stain.
The repair sequence, step by step
Cut and open
The damaged drywall is cut back to the center of the nearest joists. Edges are kept straight so the new piece fits tight, and dust is contained with plastic and a HEPA vacuum.
Hang and fasten
New drywall is screwed to the joists with screws set just below the surface. Nails pop on ceilings as lumber dries, so screws are the standard choice.
Tape and mud
Seams are taped and covered with joint compound in thin coats, each wider than the last, with full drying time between them. Rushing this step is the most common reason a patch shows later.
Sand and prime
The compound is sanded smooth with dust controlled, then primed so the patch and the old ceiling absorb texture and paint at the same rate.
Matching texture so the patch disappears
Smooth ceilings are the hardest to hide a repair on, and textured ceilings are the hardest to match. The method depends on what your ceiling has.
Orange peel and knockdown
These are sprayed on, so a patch is sprayed too, using a hopper gun and compressor for anything bigger than a hand. The tech tests the spray pattern on cardboard first and blends it past the patch edges so there is no ring.
Popcorn and heavy texture
Spray cans work for a small spot, but color and bead size often differ from the original. In an older home, ask whether the existing material should be tested before anyone sands or scrapes it.
Smooth finishes
Smooth ceilings need a skim coat feathered well beyond the patch, often across the whole plane. It takes more passes than texture does, and it shows any shortcut under a work light.
Sealing and painting so the stain stays gone
Ordinary ceiling paint does not hold back a water stain. The brown tint dissolves into wet paint and reappears as it dries, even after two coats. A stain-blocking primer, oil-based or a pigmented stain-blocking latex, goes over the old stain and the new patch before any finish coat.
After priming, the ceiling is painted edge to edge across the full plane, not just around the repair. Flat ceiling paint is unforgiving, and a touched-up square will show when the afternoon sun hits it.
One check before the paint is called done
Look at the ceiling from the doorway with the lights off and a flashlight held flat against the surface. Ridges, seams, and sheen differences all show up in raking light, and they are far cheaper to fix now than after the room is put back together.
What changes the cost of a ceiling repair
Prices vary too much to quote in a blog post, but three things drive almost every estimate.
Size and number of sections
One patch is a small job. Three separate wet areas, or a stain that crosses a seam into the next room, adds drywall, mud days, and painting.
Ceiling type and access
Vaulted ceilings, stairwells, and heavy texture need scaffolding or more finishing time than a flat eight-foot ceiling.
What is found above
Wet insulation, a recessed light that has to be pulled, or growth on the framing each add steps that were invisible from below.
Want the scope explained before work starts?
Call (385) 988-9410 and we will walk through patch, section, or full sheet, with scope and price explained before work starts.
Safety checklist before repairs
Before anyone arrives, a few safe steps protect people and limit damage.
- Keep people out from under a sagging or bulging ceiling.
- Turn off power to the area if the panel is dry and safe to reach, and stay away from wet fixtures.
- Stop the water source and place a bucket under any steady drip.
- Photograph the damage before moving anything.
- Call 911 or the utility if water has reached outlets or the panel.
Draper note: permits and who pulls them
Draper handles permits through an online portal, and its listed permit types include Remodel/Alteration, Plumbing, and Electrical. The city page does not say when a permit is required, so if your ceiling job involves moving a light, repairing a supply line, or opening more than a patch, ask the city before work starts. City Hall is at 1020 E. Pioneer Road.
Practically, settle one question in writing with your contractor: who applies for a permit if one is needed, and who schedules any inspection. Leaving that vague is how a finished ceiling ends up reopened.
Common questions
How long should a ceiling dry before it is repaired?
There is no fixed number of days, because it depends on how wet the drywall and insulation were. Repair starts when moisture meter readings match a dry reference ceiling, not on a calendar date. Painting over a ceiling that only looks dry is the usual cause of stains returning.
Can I just paint over a ceiling water stain?
Only after the leak is fixed and the ceiling is dry, and only with a stain-blocking primer first. Plain ceiling paint lets the stain bleed through. If the drywall is soft or sagging, it needs to be replaced, not painted.
Will the new ceiling texture match the old one?
It can, if the tech tests the spray pattern first and blends past the patch edges. Perfect matches are hardest with popcorn and smooth finishes, which is why some jobs finish the whole ceiling plane. Ask to see the test sample before the final coat.
Does a ceiling repair in Draper need a city permit?
It depends on the work. Draper's online permit portal lists Remodel/Alteration, Plumbing, and Electrical permits, but the city page does not state thresholds. Call Draper City Hall and ask about your specific job.
Should I use a water damage company or a general handyman for the repair?
If the ceiling is fully dry and only cosmetic, a skilled drywall finisher can do the work. If it was wet recently, or there is insulation or possible mold above it, a restoration company can measure moisture and handle those steps first. Ask any company whether its crews work to ANSI/IICRC S500.